
Building a DIY golf simulator? Our comprehensive guide streamlines the process for every kind of golfer. Learn to select and set up essential components within your space and budget limits. Equip yourself with the know-how to bring the golf course to your home effectively and affordably.
Key Takeaways
- Assess space and budget carefully for a DIY golf simulator setup, with a good starting budget at under $3000, and ensure the room size can accommodate a golf swing.
- Choose the right launch monitor, from affordable entry-level options like OptiShot to advanced high-end models like Foresight GCQuad, based on your needs and budget.
- Invest in a durable impact screen, a quality projector, and a comfortable hitting mat, and consider additional accessories and simulator software to enhance the virtual playing experience.
Evaluating Your Space and Budget
Starting your DIY golf journey requires you to analyze the area and budget available. When assessing, take into consideration whether or not there’s enough room in which one can swing a club properly: it should be no less than 8×8 feet with 10 feet of length at least, this will ensure an appropriate atmosphere for proper practice.
Financially speaking, the base cost for a setup isn’t too steep (approx $3000), but keep in mind that launch monitors may range from half a grand to ten thousand dollars. Remember to factor those as well when establishing your home golf simulator.
Also, make sure that screen size & projector match both financial plan/room depth plus any other component needs like hitting mat & enclosure assembly are taken care of accordingly.
Launch Monitor Selection
At the core of any golf simulator installation is the launch monitor. This device captures vital information about both your ball and club, such as spin rate, and distance covered by each shot taken with a certain speed or path from the club’s head. These details enable an authentic virtual game experience to be created. When selecting what type of launch monitor you should use for your setup it’s important to consider all levels – entry level through high-end models – as this will define how realistic and accurate your overall golfing simulation ends up being. Golf simulators are designed specifically so that people can enjoy playing this classic sport even if they lack access to open courses in their immediate vicinity.
Entry-Level: OptiShot
For those just starting to golf or with a limited budget, the OptiShot launch monitor may be your ideal partner. With its easy-to-use optical sensors that detect club impacts for an entertaining and affordable golfing experience, you can’t go wrong! The Golf in a Box kit comes packed with all you need including infrared hitting pads, foam balls, rubber tees and more, creating the perfect atmosphere of having a real course from within your home.
This set is surprisingly accessible. Plus, at only around $800 dollars for this box package, it will not hurt your wallet like actually going out on courses does! The pricier individual OptiShot 2 also offers amazing value coming in at only around four hundred bucks. A great way to get into playing serious rounds without breaking banks? That’s what we call winning big time when it comes to mastering the game of golf.
Mid-Range: SkyTrak
SkyTrak is the perfect choice for golfers who are looking to invest a bit more in order to gain precise data and advanced game-improvement features. With its player assessments and skills challenges, it serves as an essential tool for improving your performance at this sport.
Considered to be one of the best deals on offer with respect to pricing, SkyTrak brings you accurate details alongside alluring WGT Play & Improve software – all that without breaking into bank accounts! The launch monitor alone comes under $2K while investing around $3K will get users equipped with hitting mats plus Net Return Home Series net too. Nevertheless, bear in mind that impacts made onto screens might not make quite similar experiences as they do when projected unto actual HD impact ones.
High-End: Foresight GC2 and GCQuad
For passionate golf players willing to invest in high-performance and advanced features, the Foresight GC2 or a top-of-the-line GCQuad is their best choice. Similar to powerful cars in racing sports competitions, these models are like premium Ferraris among other simulators.
GCQuad displays magnificent specifications such as four swift cameras which collect precise ball and club data. Bigger outdoor displays with built-in WiFi & Bluetooth connections adding more convenience. Also having an increased size on hitting zone plus manual target adjustment enables a correct installment system making this gadget literally your own fully professional virtual green field lab at any world-class course!
It’s totally worth investing in this kind of device if you love playing competitive golf rounds around the globe without even leaving home turf to enjoy its advantages nonetheless remarkably similar benefits to real-life games!
Crafting the Perfect Enclosure
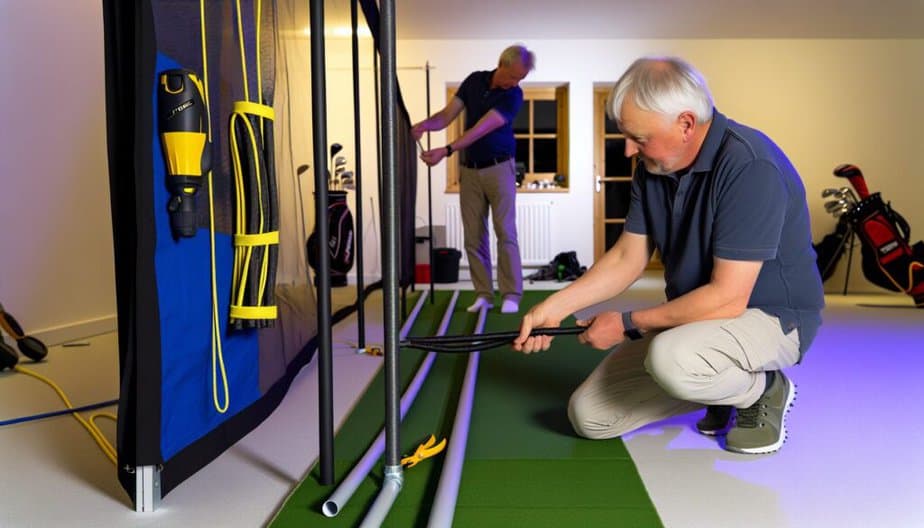
Our golf simulator setup is ready to go with the launch monitor selected. Now, we’ll build an enclosure as a protective shield from those powerful tee shots going wrong in your room. The necessary materials for construction include EMT pipes and connectors, plus an impact screen and heavy-duty curtains bungeed together—an inexpensive solution that blocks out light while heightening projection quality.
Safety comes first when constructing the enclosure, so be sure to put up sturdy framing leaving twelve inches of free space between it and any walls preventing errant balls from causing harm or damage directly afterwards. Foam insulation can cover these frames.
Impact Screen Essentials
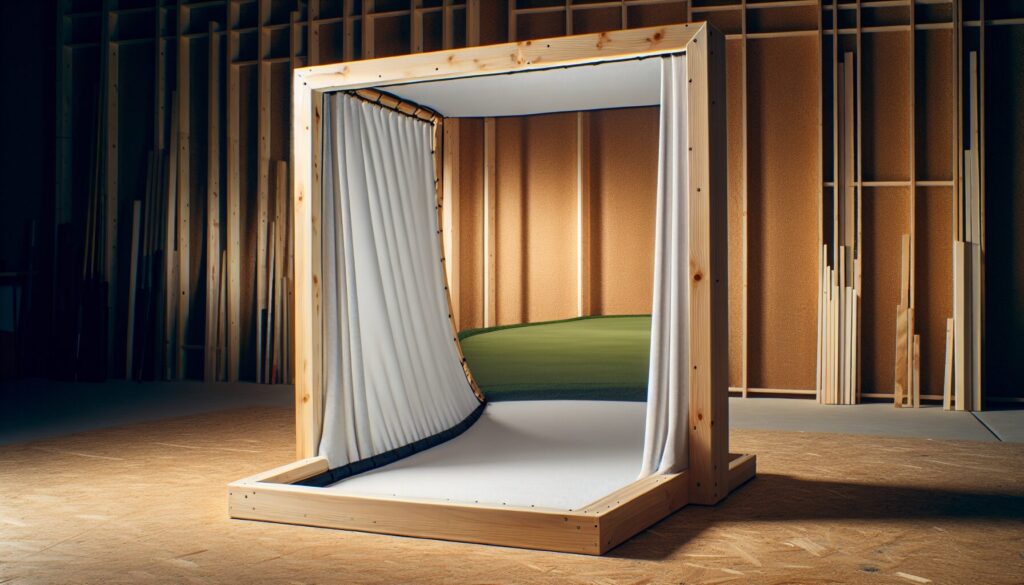
Golf shots manifest on the impact screen, and its quality is critical as golf balls can reach up to 250 MPH when hit. A good option such as Carl’s Golf Screens are designed specifically with this in mind. 9’x12’ tends to be standard for screens of this type. Opting for a full enclosure kit that involves ball bungees connecting it to an enclosure frame provides the optimal tension support needed.
For amplified simulation experiences during playtime, consider curved displays which offer improved immersion into game space versus flat ones used primarily for fundamentals training exercises. Ensure your choices reflect budgeting restrictions plus projector compatibility requirements so the best results come from investing in simulator setup technology correctly tailored to you and/or one’s golf needs overall!
Projector Perfection

When it comes to building the perfect golf simulator setup, a quality projector is essential. It’ll illuminate your shots on an impact screen and add realism to virtual golfing experiences. So you should opt for short-throw projectors with at least 2000 lumens of brightness (or even better, 3000). Plus they need HD resolution combined with a 4:3 aspect ratio or better still go for 4K projection if possible.
Mounting this device onto the ceiling is often seen as the ideal way for such setups since it offers uninterrupted visuals from all angles. Here too one needs special mounts in order to get that angle right, especially when setting up a basement system which requires higher luminosity levels – something BenQ’s LK936ST would be great at handling!
Hitting Mat Mastery
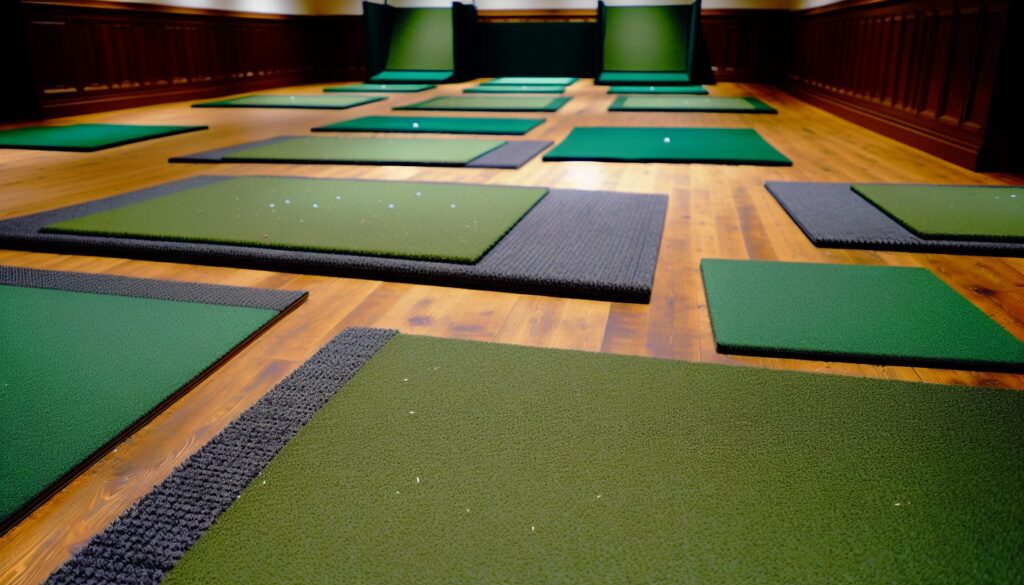
When it comes to perfecting your golf swing, having the right hitting mat is essential. The floor-protecting surface must mimic a real fairway and be comfortable on joints for extended practice sessions. A quality choice like Country Club Elite or Fiberbuilt Flight Deck will provide that optimal feel while cheaper alternatives may not last very long under consistent striking of shots. If you’re working with limited funds, there are DIY options such as making your own golf mat for less than $100! No matter what option you choose, taking into account durability and comfort should always remain at the forefront when searching for an ideal hitting matto hit those all important golfshots from home!
Enhancing Your Setup with Accessories
For an enhanced indoor golf experience, let us look at some added features to consider for your golf simulator setup. Accessories like side netting, landing turf, club organizers, and swing cameras can make the game more immersive and efficient when used with simulators.
When setting up a virtual course in our home space, we must ensure safety is taken into account. This means investing in barrier-style protection called ‘side netting’, which will catch any errant shots within your mini set-up that you have created. These nets come from sporting goods shops or online stores too, even better they are multiuse should you want to use them for other activities also!
Choosing the perfect flooring or putting surface is vital so having a thick enough turf where putts show good stimp reading measurements is key here – don’t worry though if the budget isn’t limitless as many hardware outlets provide carpet offcuts of sufficient size making it economical yet still effective part of an indoor simulation environment.
In this article, you will read how to choose the best golf simulator for under $1000.
Simulator Software Choices
The simulator software is the ideal tool to generate a virtual environment in which you can view data from tracking systems, giving an impression of playing golf virtually. Carefully choosing your software could have considerable ramifications on the quality of your golf simulation experience.
When considering two popular programs for this purpose – E6 Connect and The Golf Club 2019 – one offers features like practice ranges, multi-player formats as well as online tournaments. The other stands out due to its immense course library that provides realistic simulations with community elements at an accessible cost (except iOS).
Remember when planning what type of program you’ll use it is important to look into how much they are going to charge – usually around $995 but worth every penny if the desired outcome manifests itself accordingly i.e. creating immersive experiences or replicating actual gameplay whenever needed!
Computer and Mobile Device Requirements
A golf simulator and launch monitor are key for a successful virtual golf experience, so you need to make sure the computer or mobile device running it meets certain requirements. To get started with your software, choose an Intel i5 8400 CPU processor system with 8GB of RAM and an Nvidia GeForce GTX 1060 graphics card at least. Also, its operating system is Windows 10 or newer. For enhanced quality performance, ensure there’s 16 GB RAM paired up with a dedicated graphic adapter such as Nvidia’s GTX 1080 which can guarantee optimal 4K simulations using all compatible launch monitors out in the market. Lastly, if Foresight GC2 or GCQuad simulation software happens to be necessary then by opting either for HD simulating purposes selecting hardware containing NVIDIA GTX-1060 will do just fine while jumping straight ahead directly into 4k capabilities requires another step higher on getting yourself equipped alongside a aGTX1080 chip instead of achieving perfect picture results overall.
Building Tips and Tricks
For anyone opting for a DIY approach in constructing their own golf simulator, here are some useful building tips and advice to help you with your project. To begin with, measure twice before cutting anything, this will save time and money by preventing miscalculations that could lead to wasted materials. When installing the impact screen from one corner at the top, use tube clips across as it guarantees stable setup leading to an enjoyable simulation experience of playing golf.
When setting up lighting be sure to make use of spotlights for maximum visibility on the hitting area whilst LEDs can give off charming aesthetics within the atmosphere or consider splitting different switches if needed – safety is always paramount so keep nearby sandbags near which prevent any errant balls rolling underneath causing damage while obscuring vision when taking shots! Following these recommendations should allow for enhanced gameplay all round resulting in a safe environment filled with light perfect enjoying authentic feeling game no matter what type of course awaits!
Of course, the budget for a home golf simulator can vary. This video shows how to build a fully functional home golf simulator, complete with a hitting bay, hitting mat, launch monitor, and projector for well under $5,000
Summary
We’ve explored everything you need to know about setting up a DIY golf simulator – from evaluating your space and budget, and choosing the right components, to building tips and tricks. With careful planning and a bit of DIY spirit, you can transform your home into a golf haven. So, what are you waiting for? It’s time to tee off!
Frequently Asked Questions
What do you need to make a golf simulator at home?
To create a virtual golf experience in your own home, you need several things: a launch monitor to record the data of each hit, some software which will display graphics on either a computer or mobile device, an impact screen and/or net for tracking balls after they are struck by the club as well as side netting, so that errant shots don’t cause any damage. A hitting mat is also essential. With these components ready at hand, it is easy to prepare.
Can I use my projector as a golf simulator?
Using a projector is possible for setting up a golf simulator. It must provide a brightness of at least 3000 ANSI lumens to get an accurate readout on the smaller impact screen. This is crucial in order to track and register the spin of your ball accurately while you’re playing.
Can you build a golf simulator outside?
You can make the most amazing outdoor golf simulator setup with all of the necessary equipment, such as a launch monitor, netting system, projection screen, and projector. A golf mat is also required to be able to build this kind of setup outside. All these components combined will enable you to set up your own personalized golf simulator for practicing or entertainment purposes.
What is the minimum space requirement for a golf simulator setup?
For a successful golf simulator setup, you should plan for at least 8’ in width and 10’ in length. Height-wise it is recommended to have between 8 – 9’. This kind of space allows adequate room for swinging the club and monitoring ball flight as well.
What is a launch monitor?
A launch monitor is a tool designed to replicate the golf experience by capturing precise data concerning both balls and clubs. This device records essential information on each shot, giving users an accurate virtual representation of their game performance.